

Allowed origins are edited on the Web Edge screen even though they’re stored with these settings. That’s why their change history shows up here.
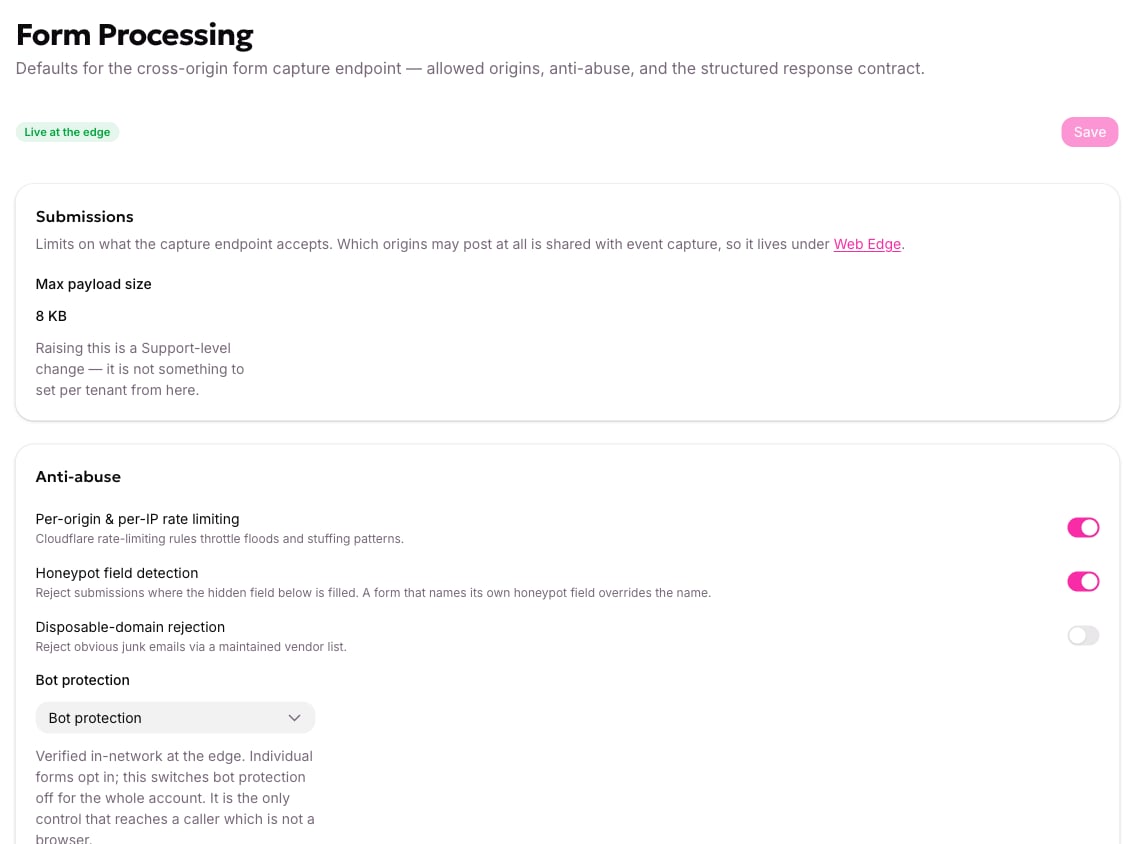
The Form Processing settings, with the submission limit, the anti-abuse controls and the response contract.
Max payload size
Shown as a read-only value, 8 KB by default. That’s generous for a lead form; if you’re near it, you’re probably sending something that shouldn’t be in a form submission. A larger limit is available through support. It’s measured in bytes, not characters, so accented and non-Latin text counts for more than its length suggests. An oversized submission is refused asvalidation.
The checks, and the order they run in
The anti-abuse checks run in a fixed order and stop at the first failure. That means the code you get back names the first thing that was wrong, not everything that was wrong — and exactly one code describes any submission.Rate limiting
On by default. Two separate budgets:
Tracking events have their own separate budgets, so a flood of tracking can’t use up the allowance real submissions depend on.
Going over returns
rate_limited, and the script shows the visitor “Too many attempts. Please wait a moment and try again.”
Honeypot field detection
On by default, using the field name_hp.
A honeypot is a hidden field a human never sees and never fills. Bots that complete every input fill it, and the submission is refused. Only a non-blank value counts — browsers submit empty strings for untouched inputs, and rejecting those would reject everyone.
The allGood script adds the field for you and keeps it empty. Don’t add your own, don’t style it visible, and don’t let your own code write to it. A form can name its own honeypot field, which overrides the account default; switching the check off account-wide beats both.
The honeypot value is kept in the stored record — it’s evidence about the submission — unlike the bot-check token, which is discarded once verified.
Bot protection
Bot protection (Turnstile) or None. See Bot protection; the account setting and the form’s own opt-in both have to be on for a check to run. This is described in the app as the only control that reaches a caller which isn’t a browser, and that’s accurate: a non-browser caller has no website to check and no honeypot worth trusting.The response contract
The bottom of the screen lists the codes a submission can come back with. They’re read-only — it’s a reference, not a setting.
The response contract, listing every code a submission can come back with.
- A form submission is never refused for missing consent. That’s deliberate.
- Exactly one code describes a submission, because the checks stop at the first failure.