Prerequisites
Before beginning, ensure you have completed the following:- Email Builder setup has been successfully configured
- A valid Campaign Brief has been prepared (refer to “Preparing the Campaign Brief” guide)
- Program Name and campaign details are finalized and ready for implementation
Step-by-Step Guide
1
Initiate Email Builder
- Click “Start Email Builder” in the allGood platform and upload the Campaign Brief
Home - Start Email Builder on allGoodhq.app.
- For Google Docs, select the file from your Google Drive or paste the link to the file
- For Google Drive, you will need to authorize allGood to access your Google Drive the first time you use it
- If you paste a link to a Google Doc, make sure your Google Integration is set up correctly and the file is shared with the allGood service account
- For Word docx, upload the file directly
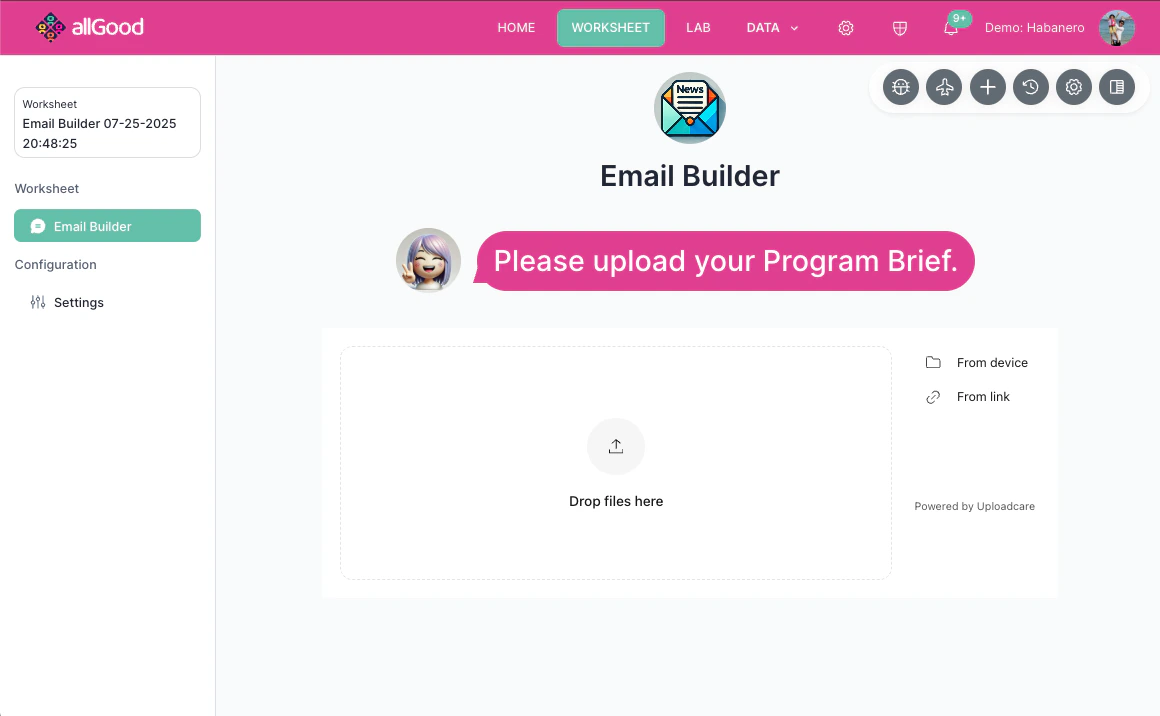
Mary Chat window showing the upload screen to share the campaign brief.
2
Build Campaign
- Once the file is uploaded, Mary will go ahead and build your campaign automatically!
- Here’s what Mary will do:
- Clone the program
- Update the tokens in the new program
- Update the email layout if necessary
- Send a test email to the specified address
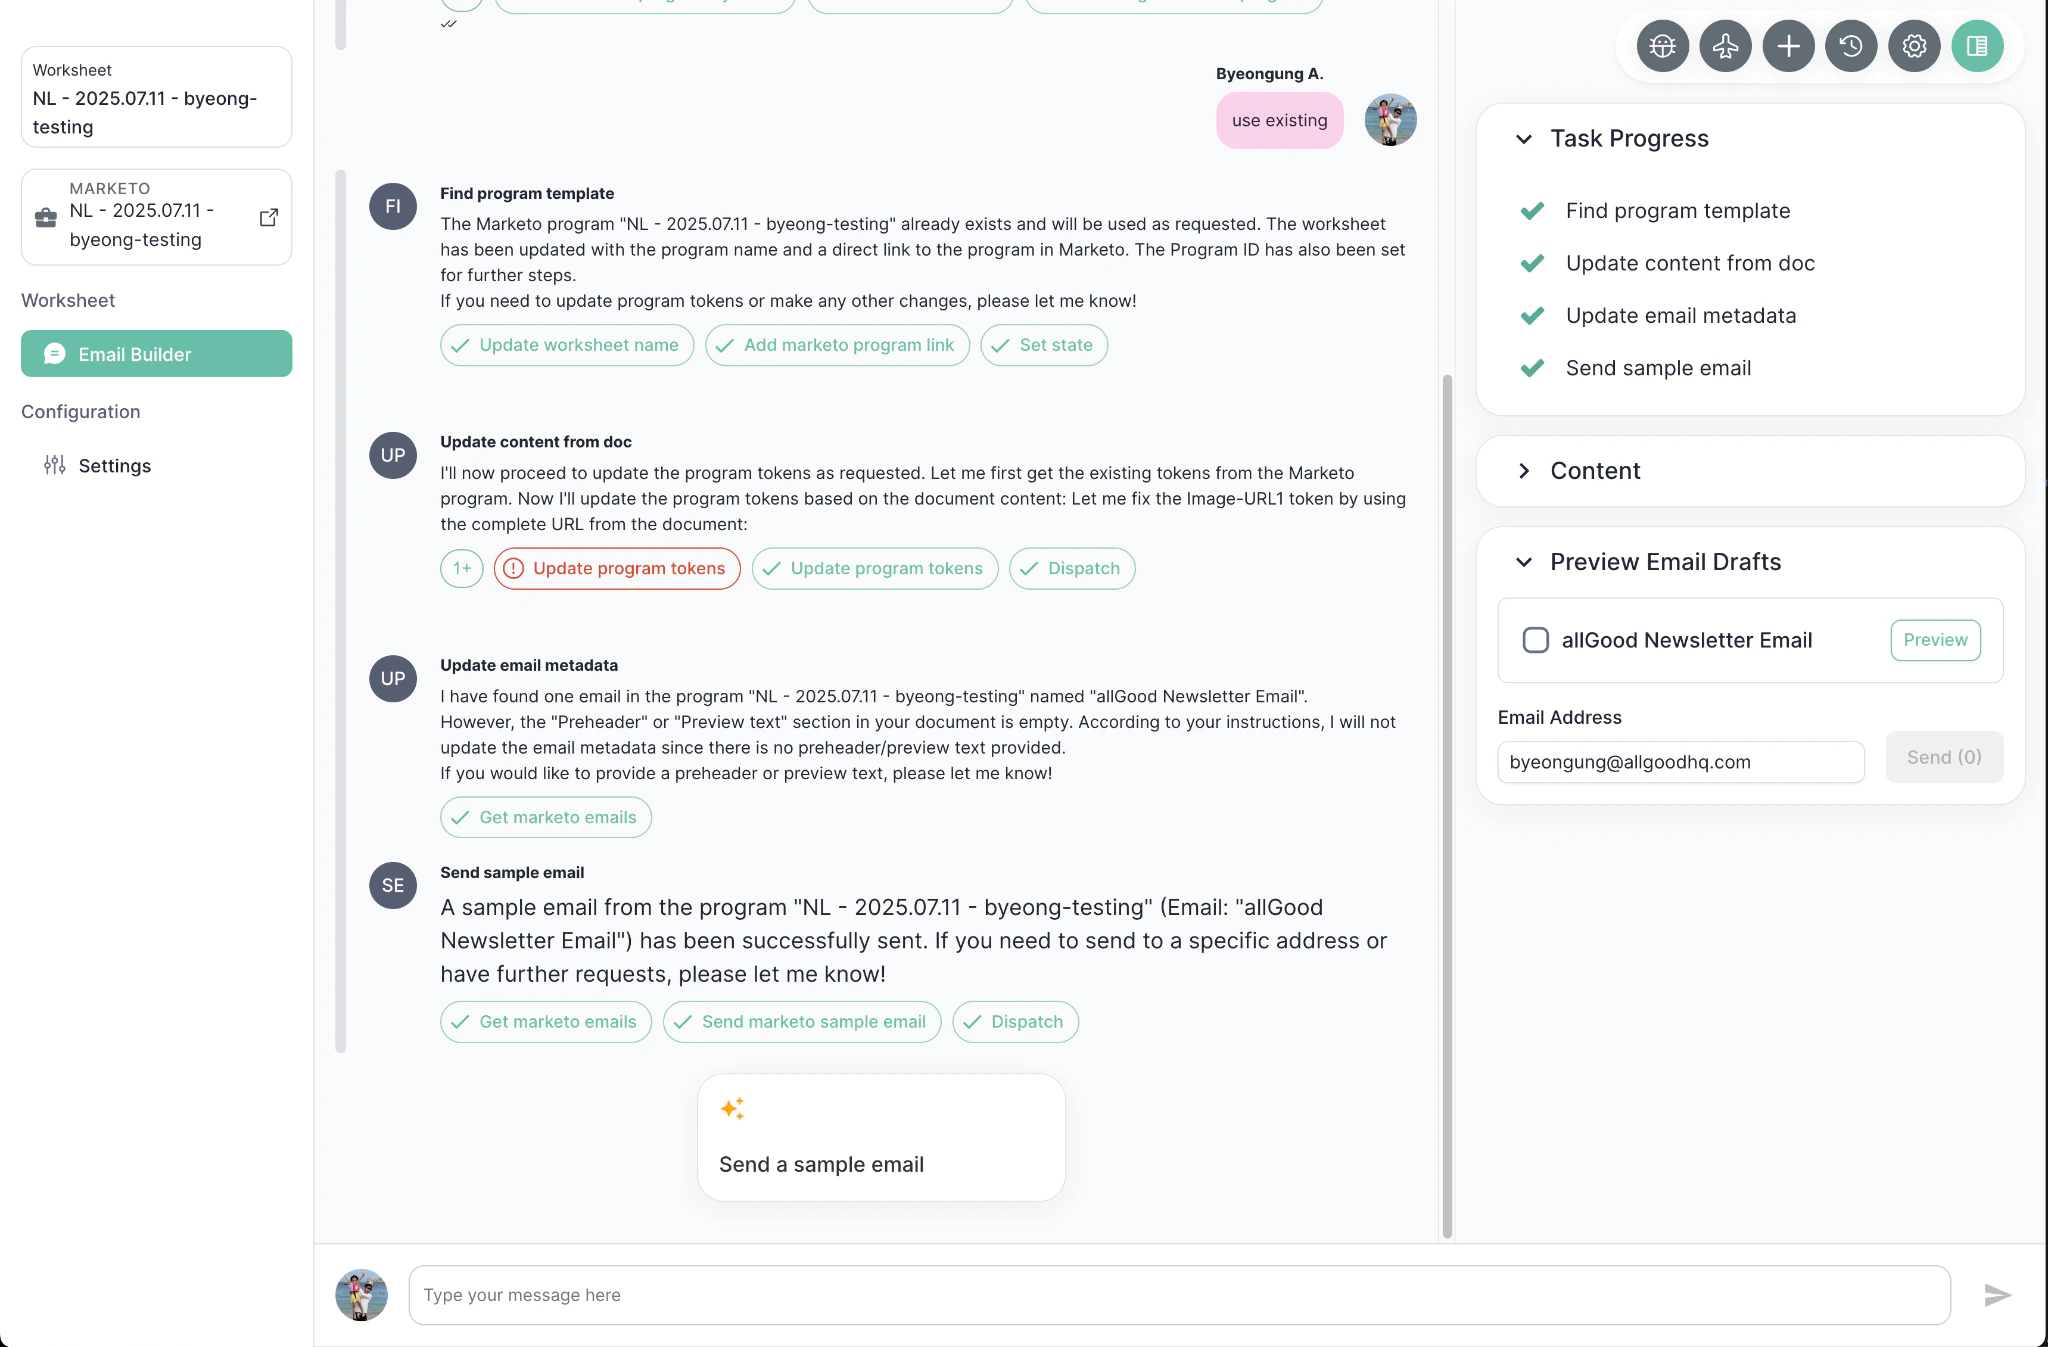
Mary Chat window showing campaign build progress.
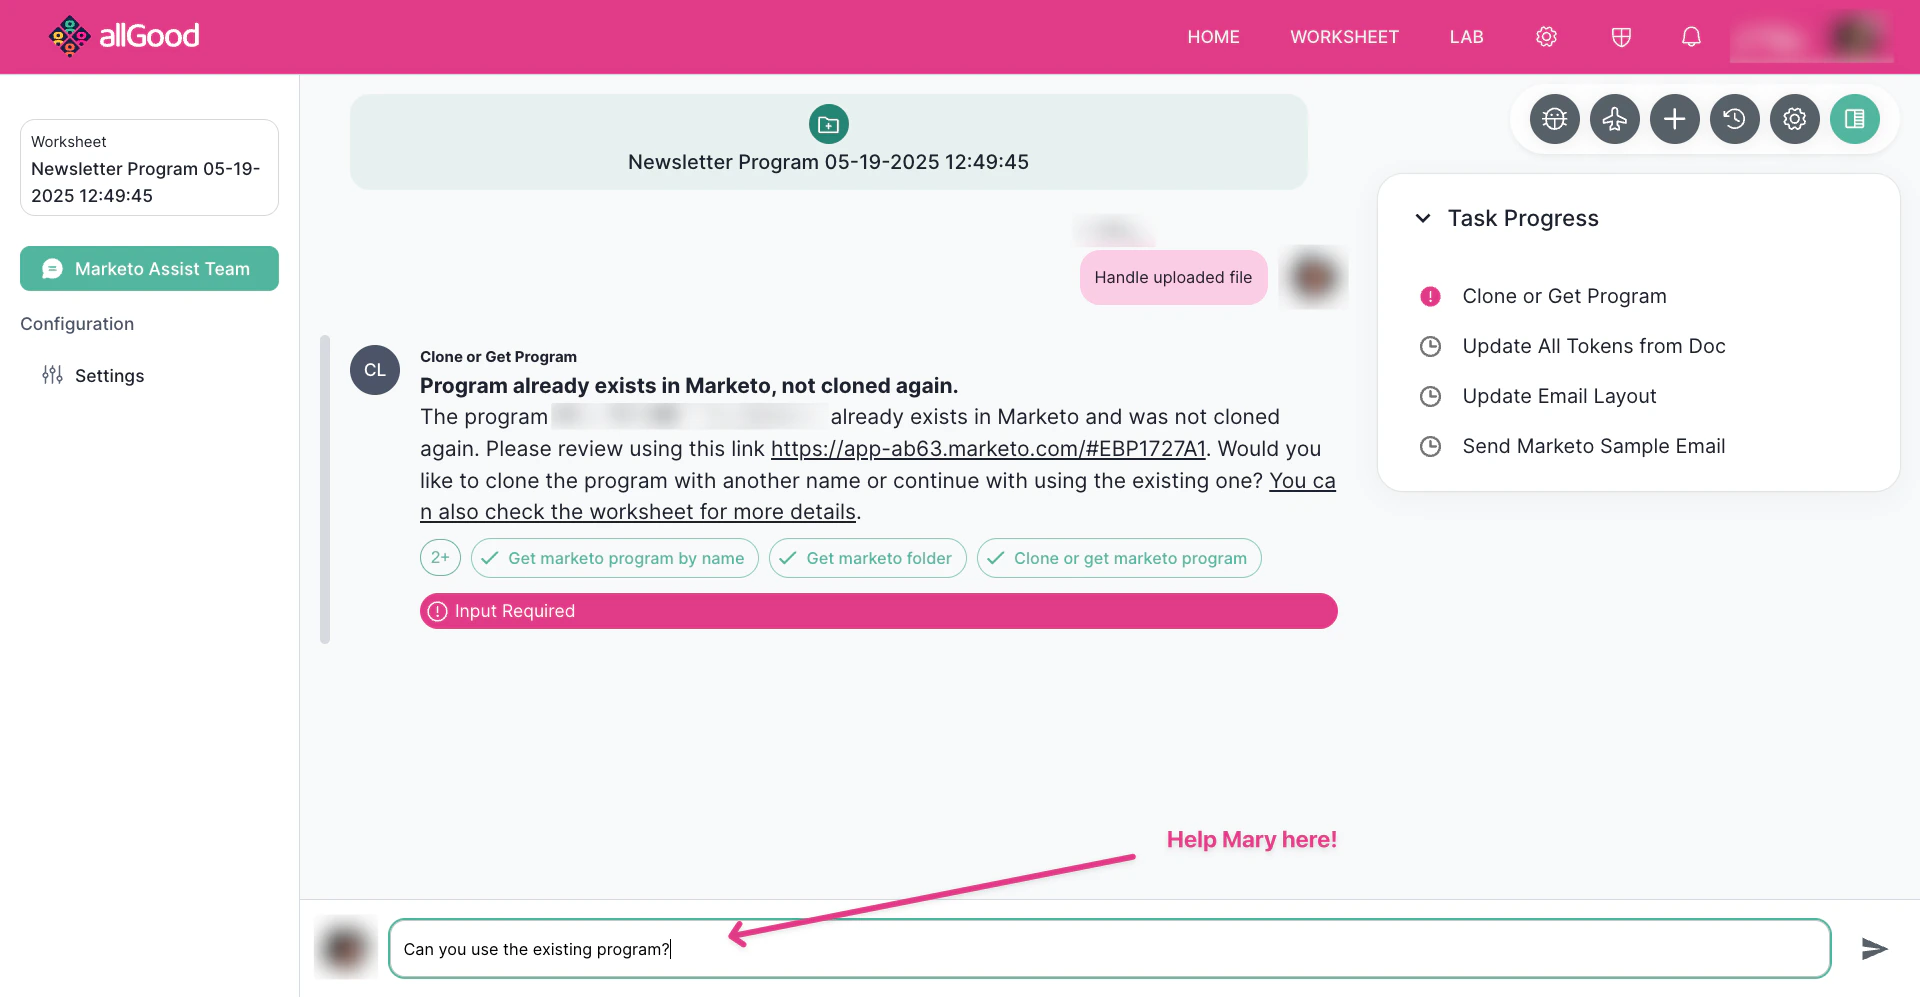
Mary Chat window requesting user input.
3
Make Updates
Once Mary has built the campaign, you can make manual updates.Make updates through built-in UI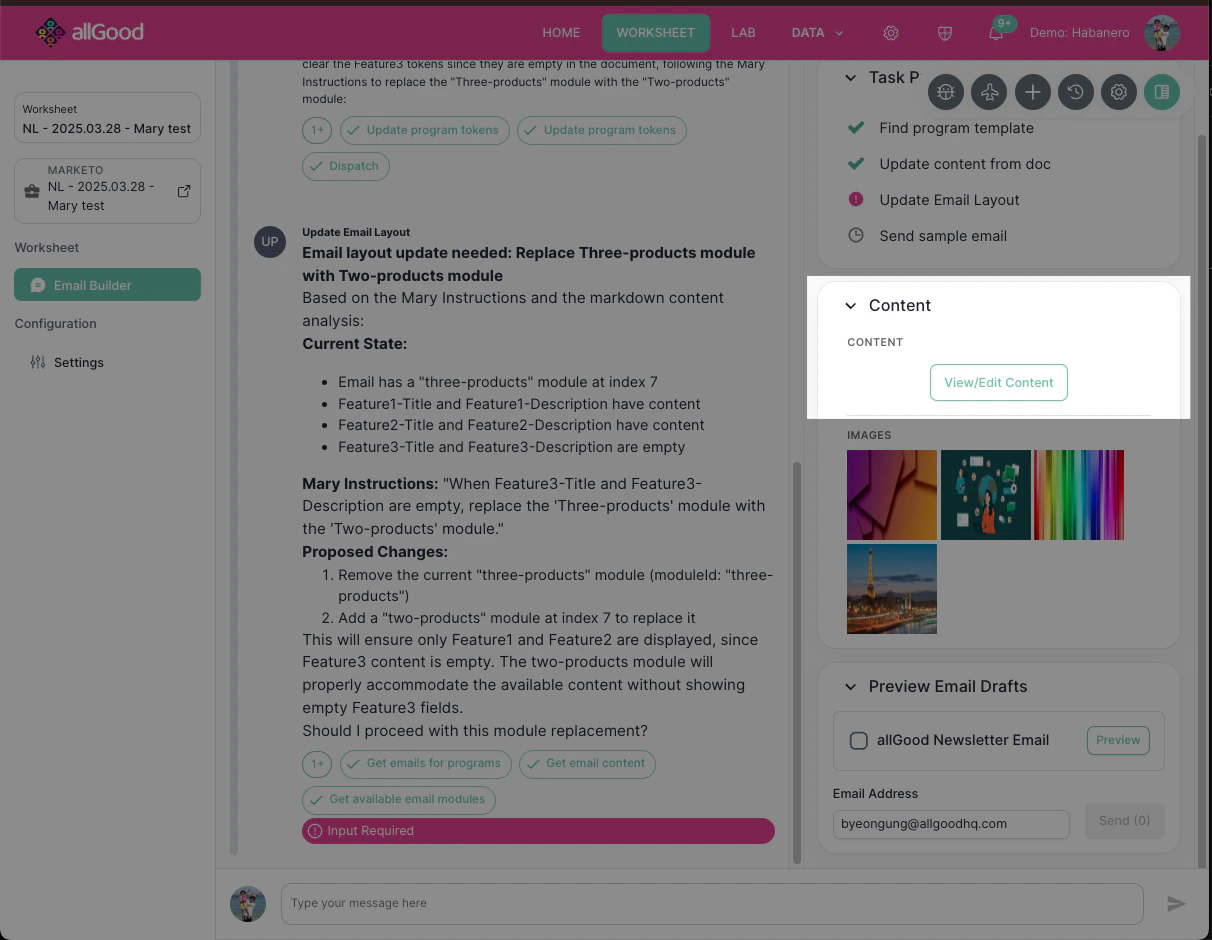
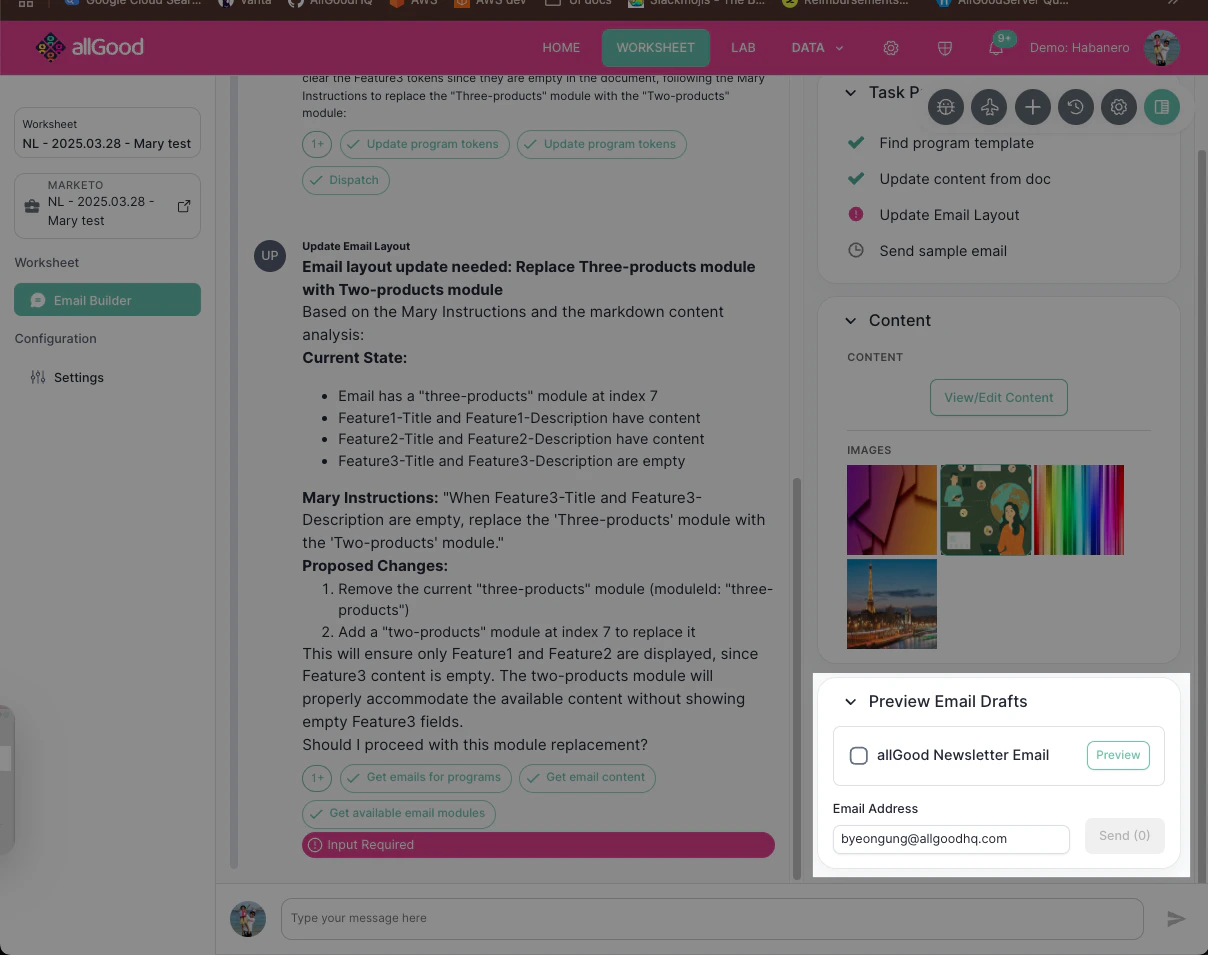
Content section
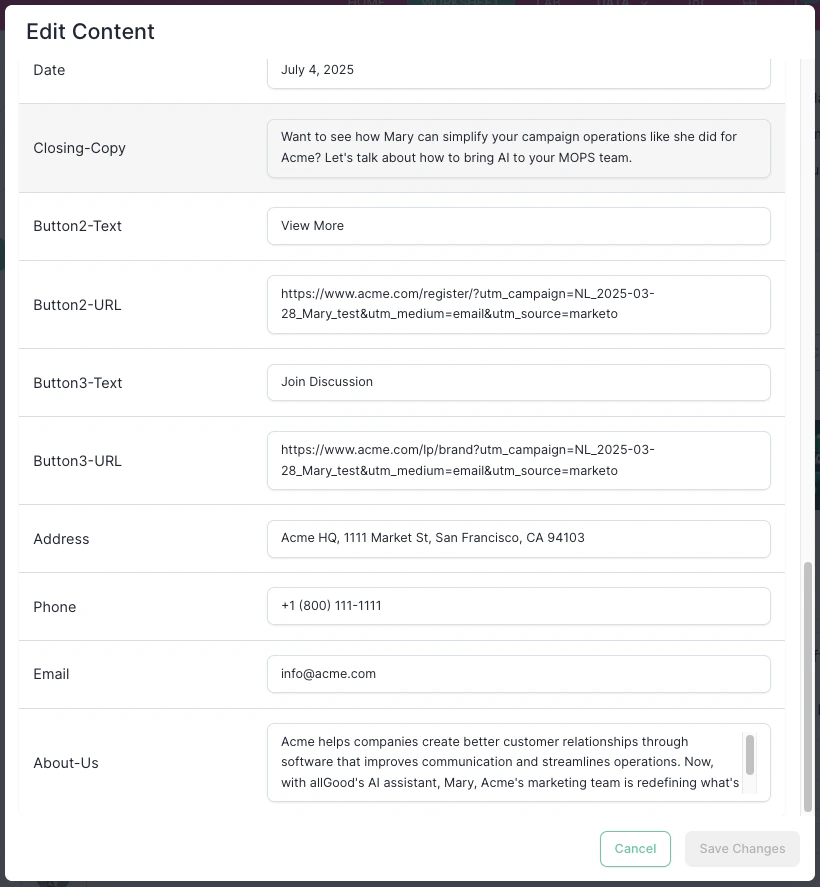
Click “View/Edit Content” on the right sidebar. And you can see “Edit Content” popup and directly make changes to the tokens.Content section
Edit Content popup
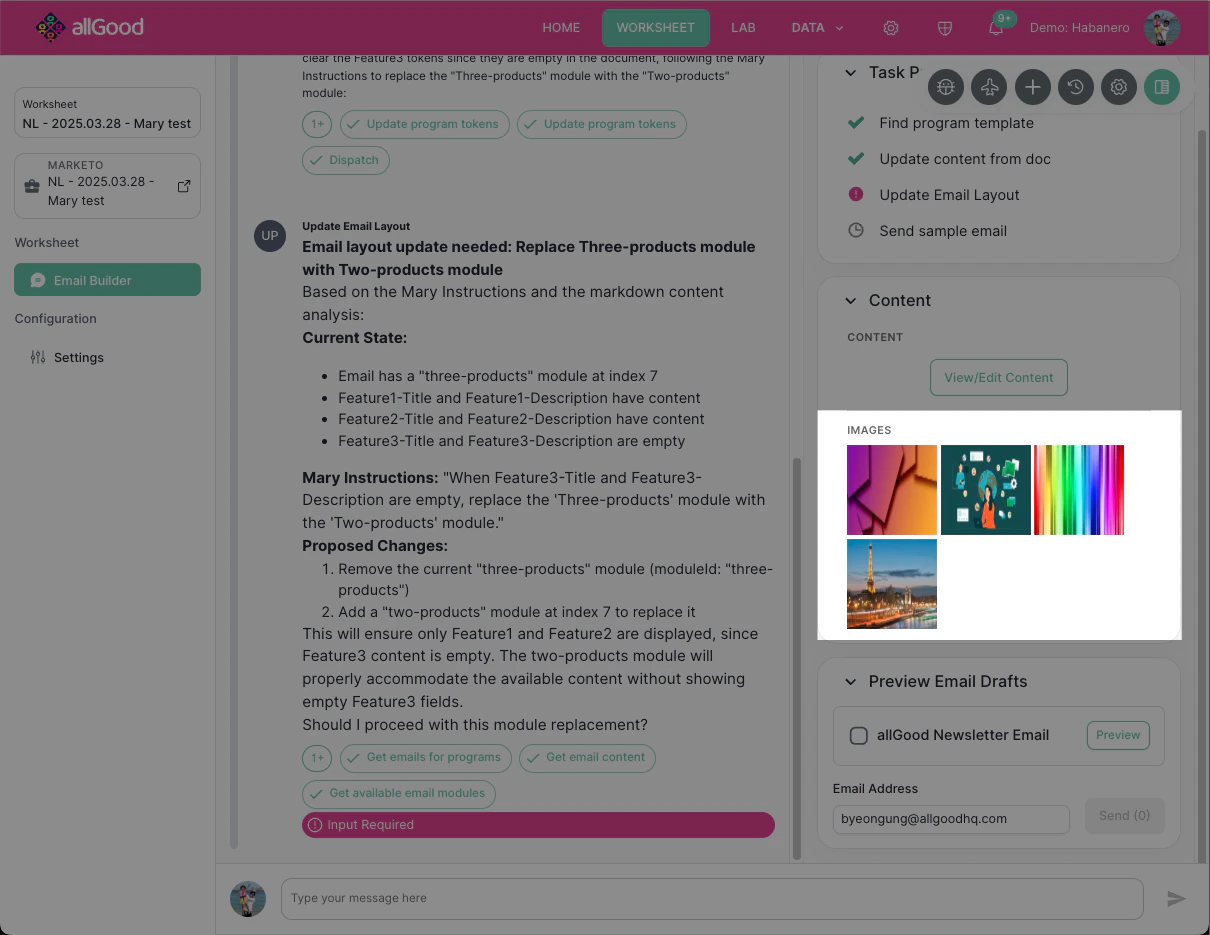
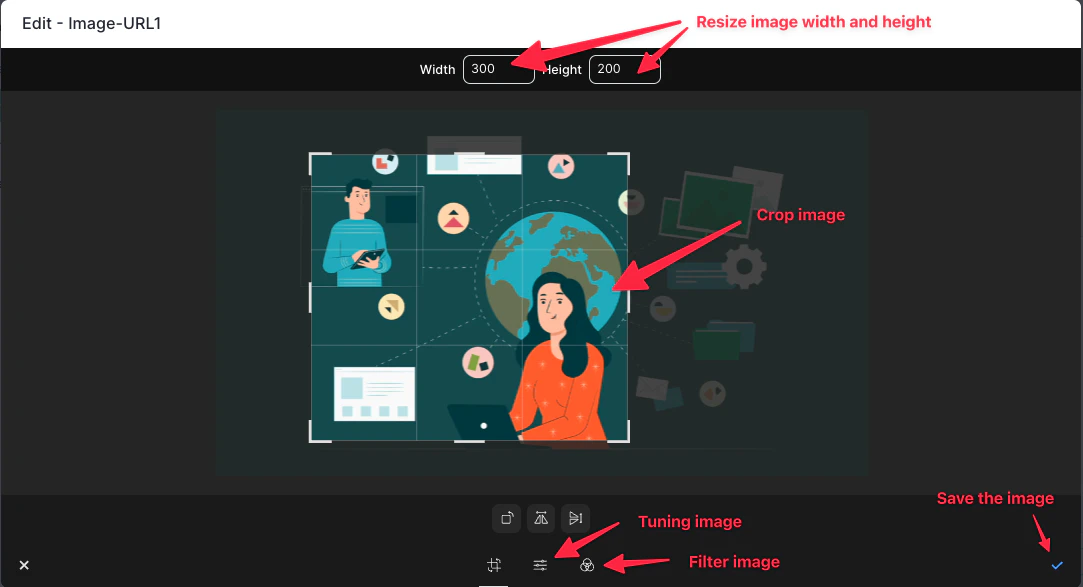
Content - Images section
The images section is right below the content section. You can see all the uploaded images found in the campaign brief doc.Content - Images section
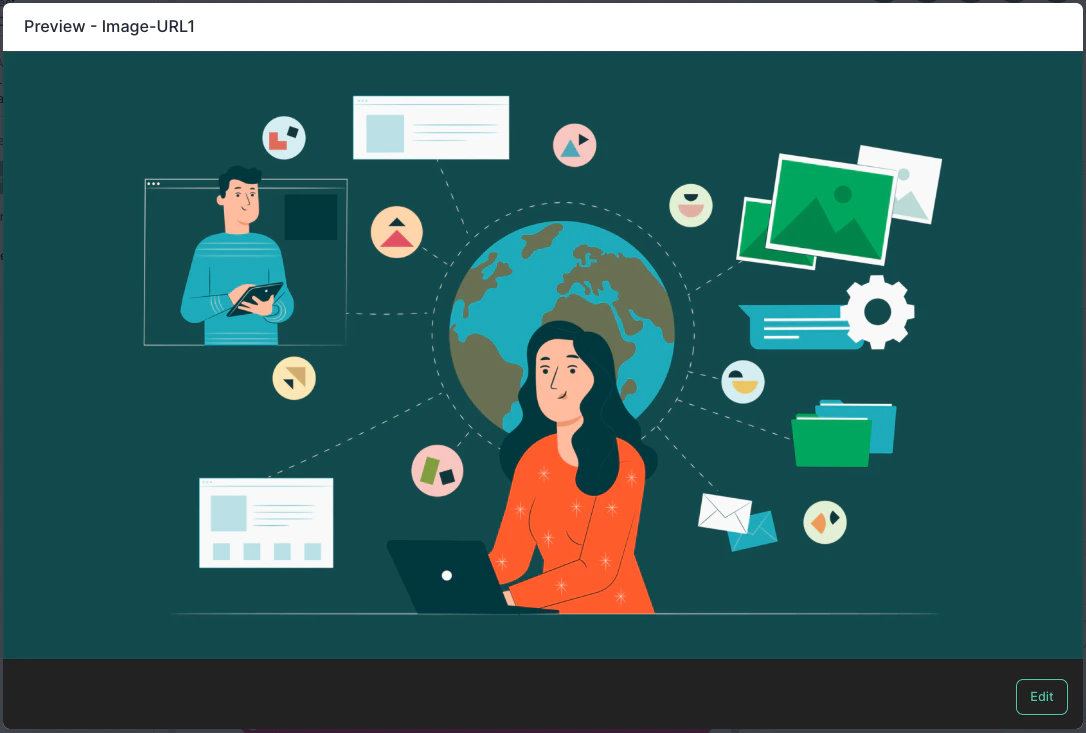
Preview image
Edit image
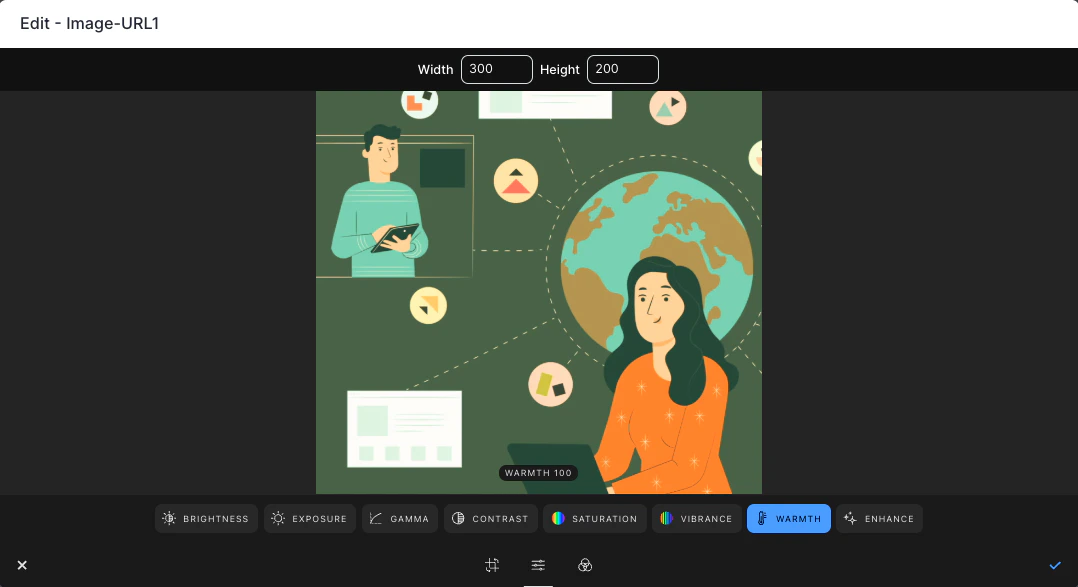
Tune image
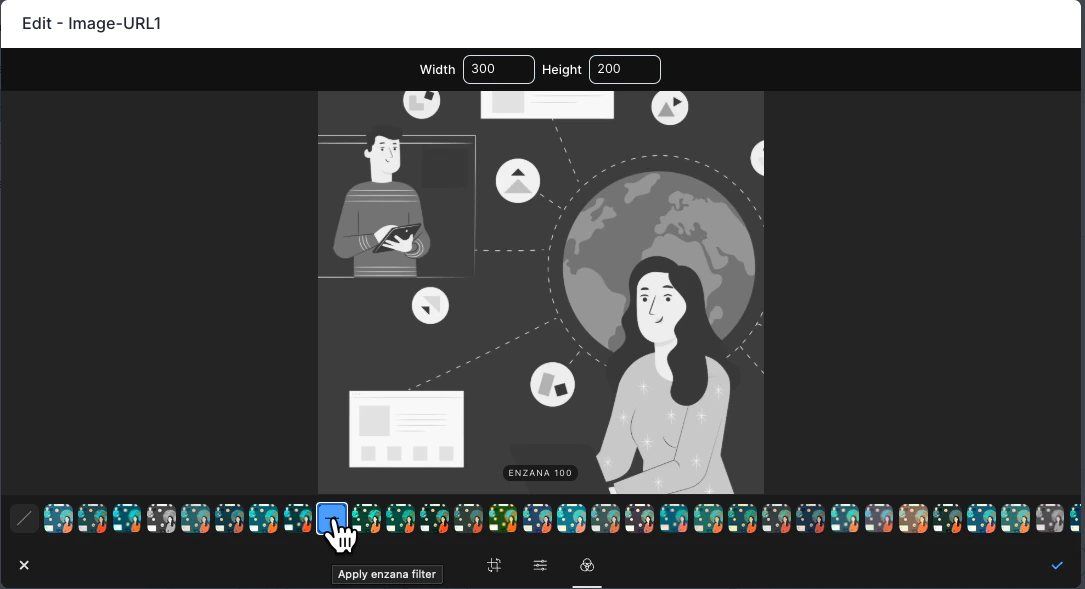
Apply Filter on image
Preview Email Drafts section
This section lists all the emails within the program.Preview Email Drafts
- You can click the “Preview” button and it will open up your Marketo email preview screen.
- You can check the emails you want to preview and click the “Send” button to send the draft emails.
- Some examples of manual updates include:
- Updating the email layout
- Making changes to the content
- Sending a test email to another address
- You can simply ask Mary to make these changes for you, and she will do her best to help
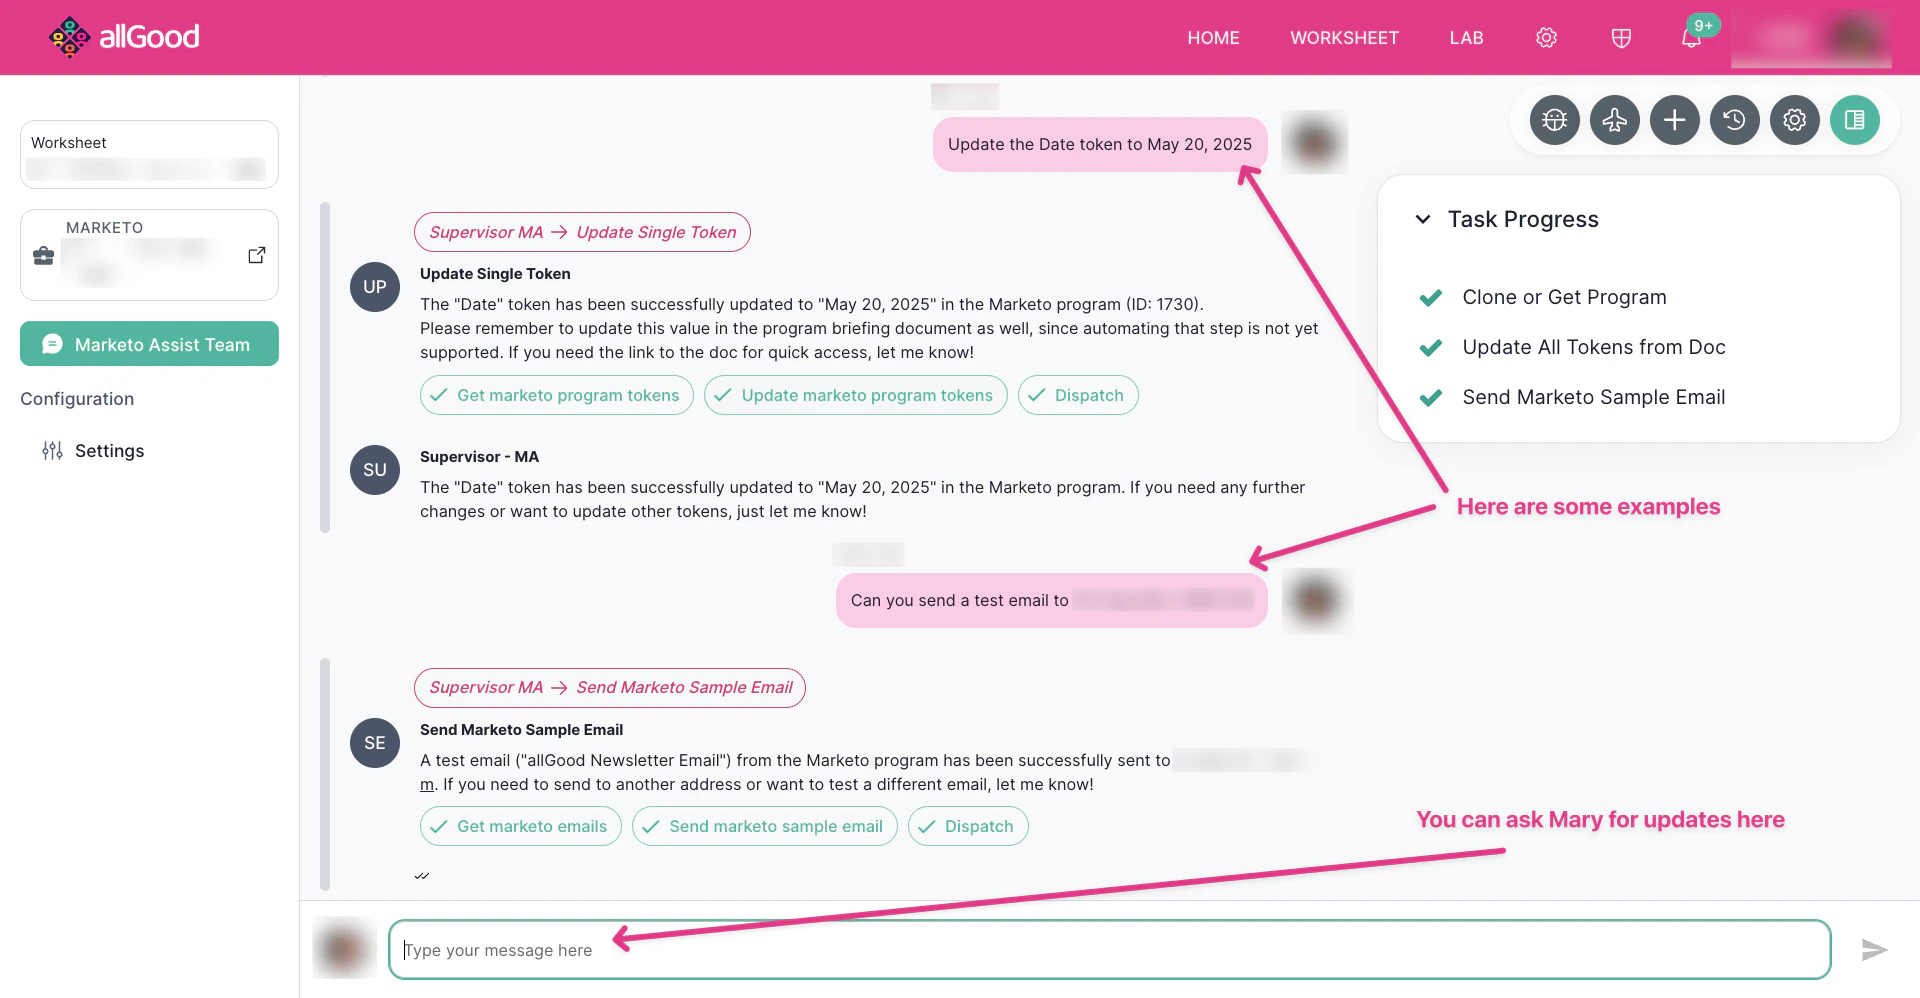
Mary making additional changes as requested by the user.